Rebuilding fffunction.co
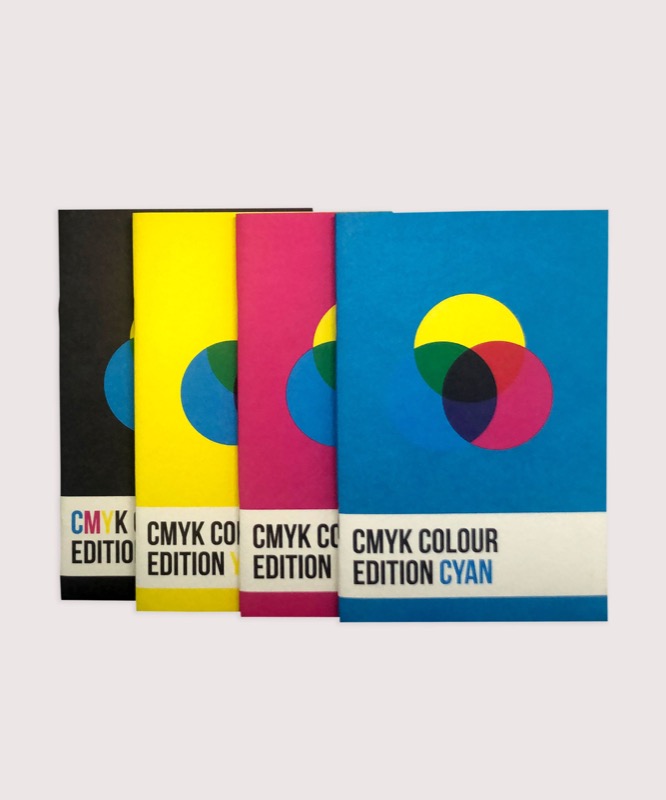 A notebook you'll actually carry every day.
The creative team over at fffunction.co have recently made a few changes to their website. Responsive changes. It’s been great to read through their past year of achievements but what I was more interested in was the responsive achievements from this bit of work.
I reached out to the team at fffunction and asked them to comment on their new piece of work. My questions included…..
Can you run our readers through a couple of techniques that you used when creating this layout?
Looking for interesting uses of media queries, if you focussed on performance what techniques you used, anything special with the images? I noticed there’s a few canvas elements, anything special with those?
The page is 70 requests, with 3.8MB transferred. Large!
Anything special server side, or with JS?
Here’s what they had to say….

Thanks Justin, we’ve had a great year and wanted to do something a little different with our site. Our Year in Review actually started off life as a small one-pager to show some of what we’ve been up to. After spending a few weeks on it, we took the decision to make it something bigger and to replace
out the whole site with it. We tried to be open and honest about what it’s like to run a small web shop. Over the year we’ve had highs, lows and some hairy moments – we wanted to share all of our experiences with the community.
The main challenge we faced when building the site, and what we ended up spending the most time on, was optimising the performance. Here are some aspects we looked at:
Images
The problem with showing large images of work is the page size very quickly starts to become unwieldily. We tried a number of different techniques to make the page load faster – and even to make it feel faster with lazy loading images. However, with all the solutions we implemented there was
always one nagging thing that hampered the experience. In the end we made the decision to keep it simple.
We optimised all the images with ImageOptim and made sure they were only as big as they would ever need to be. We also used a clever bit of JS to only load in the images we wanted on mobile / small screen devices. This works by storing the image url in a span as a data source and then converting
that into an image tag if the parent container is visible. (i.e. if the container is display: none; for mobile, it will just have to load an empty span). You can take a look at the JS here: https://gist.github.com/urlsangel/6972659
Canvas
The animated badges (as seen in January) were built using EaselJS to manipulate HTML5 canvas objects. After storyboarding the badge animations, the graphics were split into component parts to enable composite animation, helped by a touch of TweenJS, also part of the CreateJS suite.
For repeating sequences such as fluttering flags, sprite sheets were used to create nicely looped animations, with the benefit of a loading only a single image for the whole sequence. We needed a little bit of magic to draw the trails, so we used the AlphaMaskFilter to enable this in the third badge.
Finally, we used Remy Sharps‘ nifty inview plugin to make sure the badges are in view before playing them.
Further enhancements
We added in some CSS animations when the page loads (which are hooked in to the loading of the web fonts from Typekit) to fade in the content and draw in the orange line. These had to be striped back at smaller sizes as were crashing mobile and tablet browsers.
There you have it. A years worth of work wrapped into a very beautifully laid out site and using some pretty nifty techniques too. If you want to know more get in touch with @designbyjake.
Thanks Jake!